What Is a DNS Leak and How Do You Fix It?
What Is a DNS Leak and How Do You Fix It?
You've connected to your VPN, your IP address looks clean, and you feel protected. But there's a hidden vulnerability that can quietly undermine all of that: a DNS leak. Even with a VPN running, a DNS leak can expose your browsing activity to your Internet Service Provider—without you ever knowing.
Understanding what DNS leaks are, why they happen, and how to check for them is an important part of taking your online privacy seriously.
What Is DNS?
DNS stands for Domain Name System. Every time you type a website address like journeyvpn.com into your browser, your device sends a DNS query to translate that human-readable name into an IP address that computers use to find the site. Think of it as an internet phone book lookup.
Normally, these DNS queries go to servers operated by your ISP. Without a VPN, your ISP can see every domain you look up—and by extension, most of what you do online.
What Is a DNS Leak?
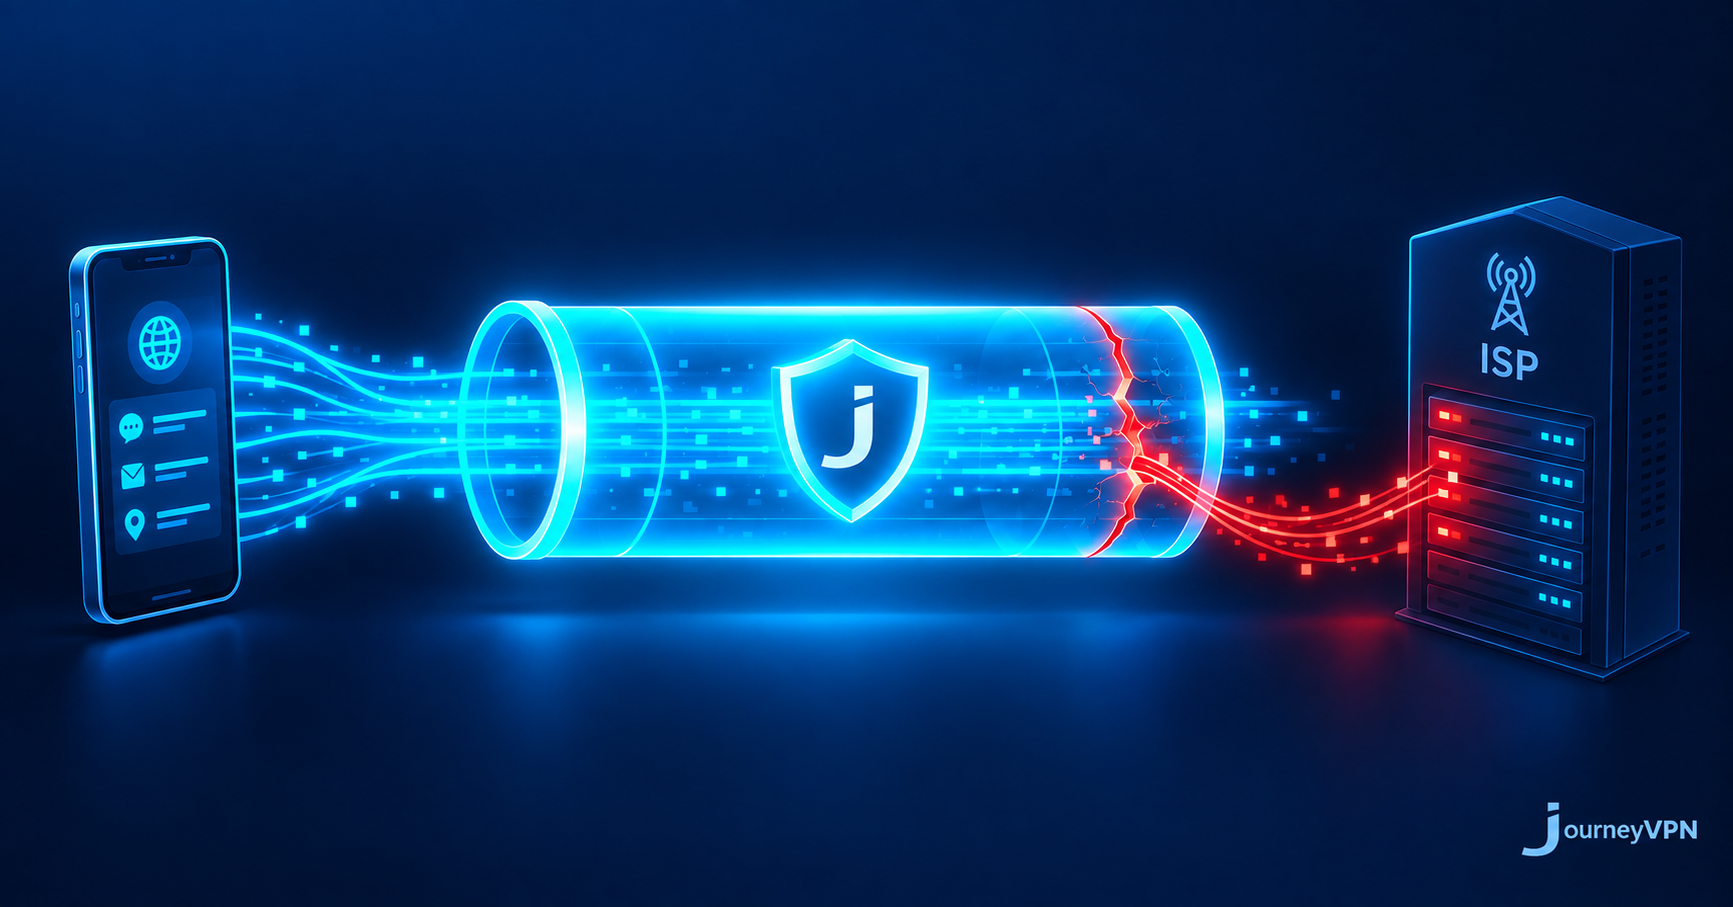
A DNS leak occurs when your DNS queries bypass your VPN tunnel and travel directly to your ISP's DNS servers instead. This means even though your VPN is encrypting your actual internet traffic, the lookup requests for every website you visit are still going to your ISP—fully readable.
This can happen because of how your operating system handles network requests, misconfigured VPN software, or certain browser and app behaviors that send DNS queries outside the encrypted tunnel.
How to Check If You Have a DNS Leak
The simplest way to check is to use a free tool like dnsleaktest.com or ipleak.net. Connect to your VPN first, then run the test. The results should show DNS servers that belong to your VPN provider—not your ISP. If you see your ISP's name or your real location in the results, you likely have a leak.
It's worth checking this periodically, especially after software updates or when you switch networks. Leaks can appear unexpectedly.
How to Fix a DNS Leak
The most effective fix is to use a VPN that routes DNS queries through its own encrypted tunnel rather than relying on your system's default DNS settings. JourneyVPN handles DNS routing automatically, keeping your queries inside the encrypted tunnel where they belong.
If you're using a different VPN and experiencing leaks, check whether it has a DNS leak protection setting and enable it. You can also manually configure your device to use a privacy-focused DNS provider—though this is more technical and varies by operating system.
Why It Matters
A DNS leak is one of the quietest privacy risks out there. Your traffic looks protected, but your browsing habits are still visible to your ISP. Using a VPN with built-in DNS leak protection—and occasionally running a test to verify it—ensures that your privacy protection is actually working the way you expect it to.